Over time, you might find that store-bought coffee creamers can be loaded with additives and sugars that may not align with your health goals. By making your own vanilla coffee creamer with milk, you can enjoy a delicious, customizable, and healthier alternative to pre-packaged options. This simple recipe allows you to create a creamy, flavorful blend that perfectly complements your morning brew. Let’s investigate the easy steps so you can savor your coffee the way you like it!
Key Takeaways:
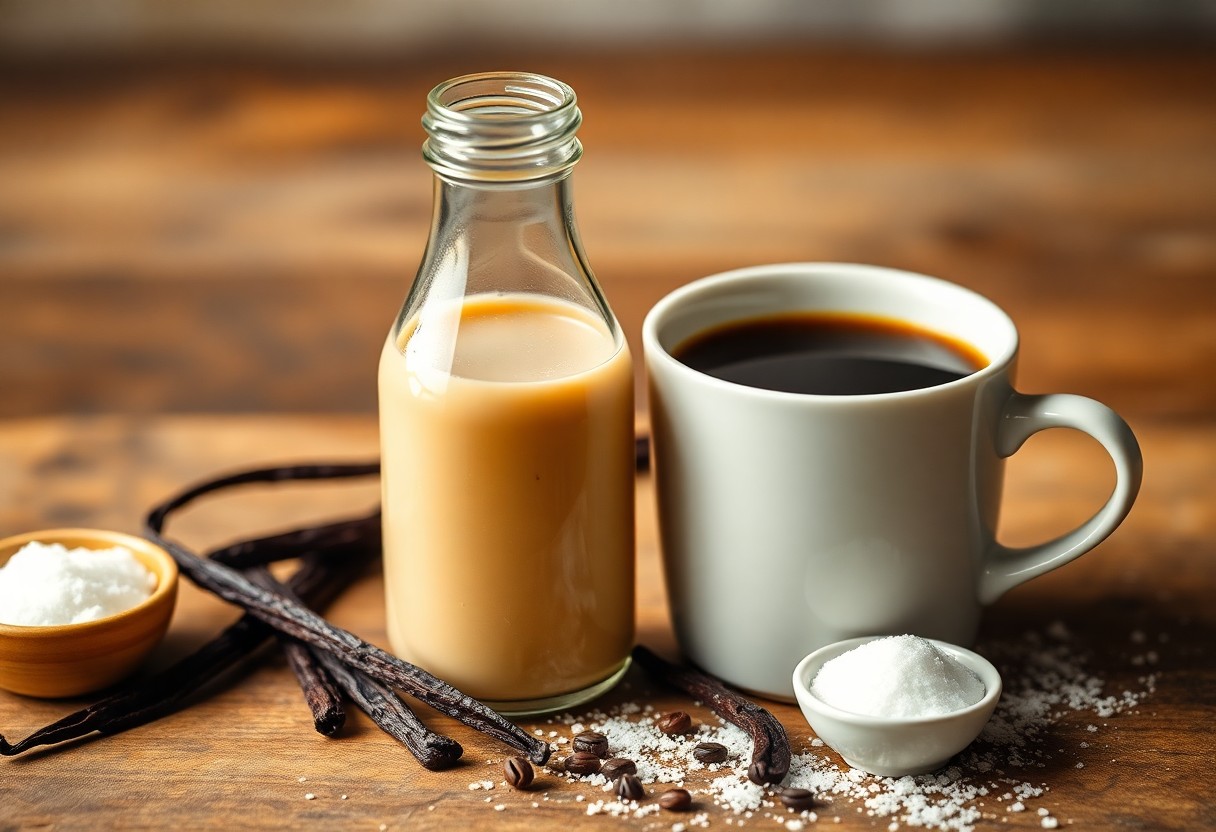
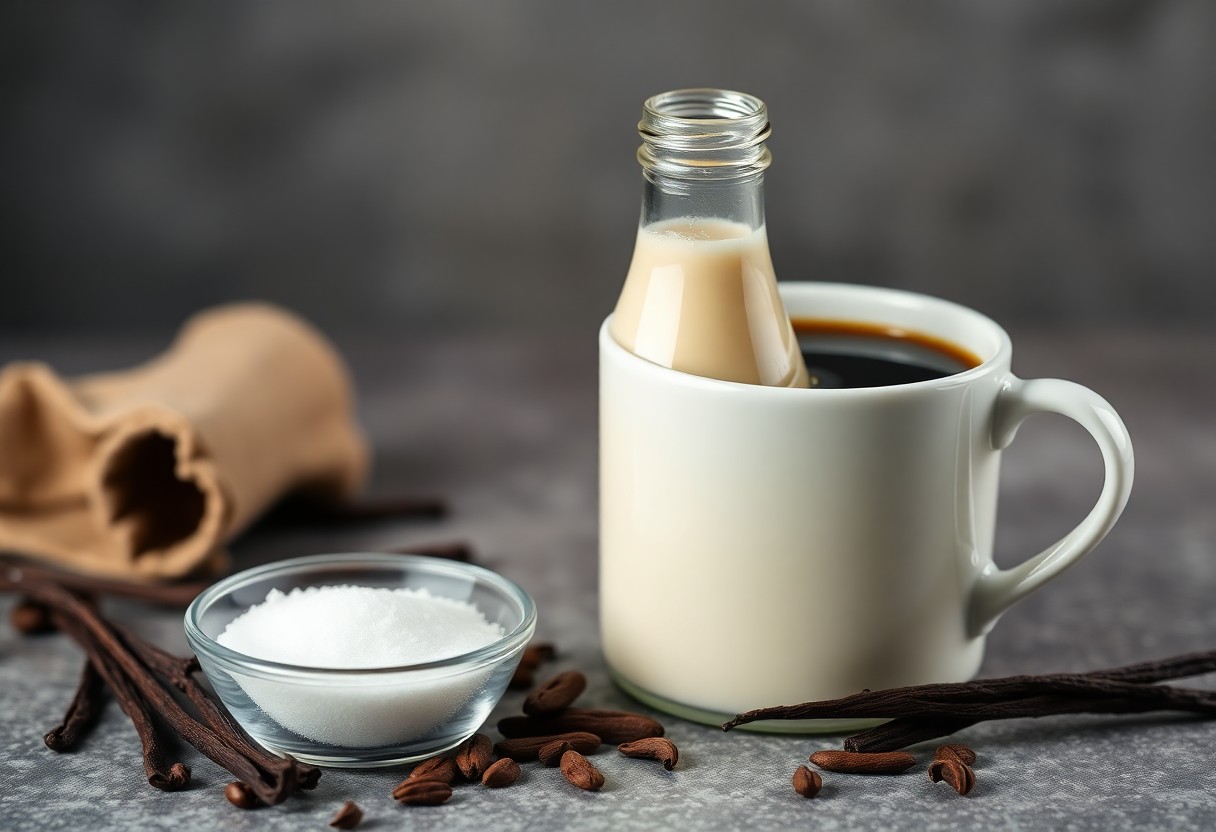
- Ingredients: The recipe requires just a few simple ingredients: milk, vanilla extract, and sugar, making it easy to whip up at home.
- Customization: You can adjust the sweetness level and experiment with different flavors, such as adding cocoa powder or spices for a personalized twist.
- Storage: This homemade creamer can be stored in the refrigerator for up to two weeks, ensuring you have a delightful addition to your coffee whenever you need it.
Understanding the Basics of Vanilla Coffee Creamer
Your journey into the world of homemade vanilla coffee creamer begins with the first step: understanding what it is.
What is Vanilla Coffee Creamer?
The vanilla coffee creamer is a rich, flavored addition to your favorite brews, offering a creamy texture and sweet vanilla flavor that transforms your coffee experience. It’s a delicious way to customize your daily caffeine fix.
Benefits of Homemade Creamer vs. Store-Bought
Any coffee lover knows the convenience of grabbing a bottle of store-bought creamer, but the benefits of making your own at home far outweigh the quick fix.
Understanding the differences, homemade vanilla coffee creamer allows you to control the ingredients, ensuring that you’re avoiding unwanted additives and preservatives commonly found in commercial products. You can tailor the flavor and sweetness to your liking, making it healthier and more appealing. Plus, the satisfaction of creating something yourself adds a personal touch to your morning routine. The freshness and flavor of homemade creamer cannot be matched, giving you a delightful coffee experience that is both nourishing and satisfying.
Ingredients for Homemade Vanilla Coffee Creamer
If you’re looking to enhance your morning coffee experience, making homemade vanilla coffee creamer is a fantastic choice. To get started, you’ll need a few simple ingredients that will come together to create a delightful addition to your favorite brew. For a comprehensive and delightful Vanilla Coffee Creamer Recipe, continue reading!
Essential Ingredients
Little more than just a handful of ingredients can transform your coffee into a luxurious treat. You will need milk, sugar, vanilla extract, and optionally, a pinch of salt. Each of these components plays a significant role in the flavor and texture of your homemade creamer.
Choosing the Right Milk
Coffee’s rich and robust nature pairs well with a variety of milk options. You can opt for whole milk for a creamier texture, or choose a lower-fat milk if you prefer something lighter. Additionally, non-dairy alternatives like almond or oat milk can also be great choices if you’re looking for a dairy-free version.
Essentially, the milk you select affects the overall creaminess and richness of your coffee creamer. Whole milk gives a decadent mouthfeel, while a lighter option can keep your coffee less heavy. Always consider your taste preferences and dietary needs when making this decision to ensure you enjoy your coffee just the way you like it.
Selecting Quality Vanilla Extract
Clearly, the quality of vanilla extract can make or break your homemade creamer. Opt for pure vanilla extract instead of imitation vanilla, as it delivers a more authentic flavor. You can also experiment with vanilla bean paste for an even richer taste and flecks of vanilla in your creamer.
It’s vital to check the ingredients list while selecting your vanilla extract. Look for options that contain real vanilla and avoid anything with added sugars or artificial flavors. This attention to quality will ensure that your homemade vanilla coffee creamer is not only delicious but also enriching to your coffee experience.
Step-by-Step Recipe for Homemade Vanilla Coffee Creamer
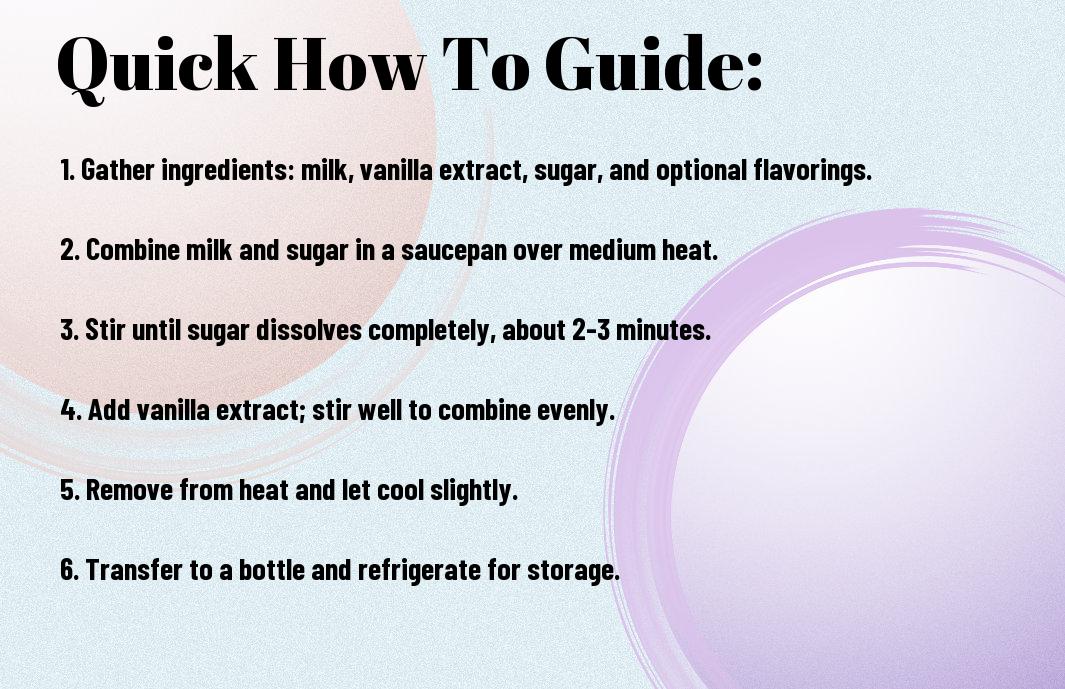
Keep this simple recipe on hand for making delicious homemade vanilla coffee creamer that enhances your morning cup of joe. Here’s a breakdown of the steps you’ll need to follow:
| Step | Description |
| 1 | Prepare your ingredients. |
| 2 | Mix the ingredients. |
| 3 | Heat and combine. |
Preparing Your Ingredients
On the day you plan to make the creamer, you’ll want to gather all your ingredients. This includes milk, sugar, vanilla extract, and any optional flavorings you might enjoy. Having everything ready beforehand will streamline your cooking process and make it much easier for you to whip up your own homemade creamer.
Mixing the Ingredients
Ingredients should be combined in a mixing bowl. Add your milk, sugar, and vanilla extract to the bowl, and ensure you use a whisk or spoon to blend the ingredients thoroughly. Mixing them well allows for a smoother and creamier consistency that will elevate your coffee experience.
Coffee lovers know that the right flavor can transform an ordinary cup into something special. For your vanilla creamer, using high-quality ingredients will enhance the flavor immensely. As you mix, be sure to adjust the sweetness according to your personal preference, creating a container of delightful goodness for your daily brew.
Heating and Combining
The next step involves transferring your mixed ingredients to a saucepan. Heat them over low to medium heat, stirring continuously until the sugar is completely dissolved. Avoid boiling the mixture as this might lead to curdling, creating an undesirable texture.
Mixing the ingredients properly and heating them gently is vital for achieving the perfect vanilla coffee creamer. Once the sugar is dissolved, you’ll notice a rich aroma filling your kitchen—a positive indicator that your homemade creation is almost ready for use.
Flavor Variations and Add-Ins
Despite the simplicity of homemade vanilla coffee creamer, you have a world of flavor variations and add-ins at your fingertips. Personalizing your creamer can elevate your morning cup of coffee to a whole new level. Whether you prefer natural sweeteners, rich flavoring options, or a touch of spice, incorporating these elements allows you to enjoy a customized experience every time you brew.
Sweeteners: Natural vs. Artificial
Natural sweeteners, such as honey or agave syrup, can enhance the flavor of your creamer without artificial additives, making your coffee experience healthier. On the other hand, artificial sweeteners provide a low-calorie alternative, perfect if you’re watching your sugar intake. Whichever option you choose, ensure it aligns with your taste preference and dietary needs.
Experimenting with Flavors: Hazelnut, Chocolate, and More
If you want to deepen your creamer’s flavor profile, consider adding essences like hazelnut or chocolate. By incorporating these flavor variations, you can create a delightful twist on your traditional vanilla coffee creamer. Your creativity can guide you in exploring other unique flavors, alongside experimenting with different ratios to discover what suits your palette best.
Add-ins like flavored extracts and syrups can also play a vital role in creating your ideal coffee creamer. For instance, a few drops of almond or peppermint extract can bring a festive flair, while a spoonful of cocoa powder introduces a luxurious richness. The beauty is in experimenting, so don’t hesitate to mix and match flavors that excite your senses.
Adding Spice: Cinnamon or Nutmeg
Now, adding spices such as cinnamon or nutmeg can elevate your coffee creamer even further. These spices not only enhance flavor but also bring warmth and depth to your morning brew. They are easy to incorporate – just a sprinkle or two can dramatically transform the taste sensation of your coffee.
Another fantastic method to add complexity to your creamer is by infusing these spices into the base. Consider whisking in a pinch of cinnamon or nutmeg during the preparation phase for a harmonious blend. This will lend your homemade creamer that extra *special touch* that will have you looking forward to your coffee each morning. Enjoy the journey of crafting your own flavors!
Tips for Storing and Using Your Creamer
Now, that you’ve made your homemade vanilla coffee creamer, it’s important to know how to store and use it effectively to maintain freshness and flavor. Here are some practical tips:
- Use glass containers for storing
- Keep it refrigerated at all times
- Shake well before each use
- Label your creamer with the date
- Use within the recommended time frame
Best Storage Practices
Little steps can make a big difference in extending the life of your homemade vanilla coffee creamer. Store it in a clean, airtight glass jar or container to prevent contamination. Make sure your storage container is opaque to block light that can degrade the ingredients. What’s more, keeping it in the fridge at a consistent temperature is imperative for maintaining its freshness.
Shelf Life of Homemade Creamer
To get the most enjoyment from your homemade vanilla coffee creamer, you should be aware of its shelf life. Generally, homemade creamers can last about 1 to 2 weeks in the refrigerator, far shorter than store-bought options containing preservatives.
With homemade creamers, using fresh milk and ingredients means you don’t have long to enjoy your delicious creation. After 2 weeks, the flavor and quality might deteriorate, so always check for changes in aroma or taste before using. It’s best to take note of how long it has been stored for optimal enjoyment.
How to Use in Various Coffee Types
To make the best of your homemade vanilla coffee creamer, consider these options for coffee preparation:
- Drip coffee
- Espresso-based drinks
- French press
- Iced coffee beverages
- Cold brews
This versatility in how you use your homemade creamer can enhance your coffee experience. Depending on the coffee type, you can adjust the amount of creamer to achieve your desired taste and creaminess.
Homemade vanilla coffee creamer is your secret weapon for elevating your coffee experience. By integrating it across different coffee styles, you can savor its delightful sweetness in each cup.
| Storage Tips | Usage Ideas |
|---|---|
| Keep refrigerated | Drip coffee |
| Use airtight container | Espresso drinks |
| Shake before use | French press |
| Label with date | Iced coffee |
| Use within 1-2 weeks | Cold brews |
With the right storage and usage practices, your homemade vanilla coffee creamer can add a delightful twist to your coffee routine. Enjoy experimenting with different coffee types for a personalized touch that suits your taste.
Any time you notice that your creamer isn’t as fresh or tasty, it’s best to make a new batch to enjoy the full flavor of your homemade creation.
Factors to Consider When Making Creamer
After you decide to make your own homemade vanilla coffee creamer, there are a few factors you should consider to ensure an enjoyable experience and delicious result:
- Flavor preferences – choose your vanilla extract carefully
- Choose the right milk or milk substitute for texture and creaminess
- Consider desired sweetness levels, possibly using different kinds of sweeteners
- Think about shelf life and storing options for your homemade creamer
Recognizing these factors will help you craft a coffee creamer that meets your taste and dietary needs.
Adjusting Creamer to Suit Your Preferences
Suit your taste buds by adjusting the flavor and sweetness of your homemade vanilla coffee creamer. You can experiment with different types of vanilla extracts or swap in flavored syrups to create a unique blend. Additionally, adjusting the quantity of sugar or sweeteners will help customize your creamer to your desired sweetness level, ensuring every cup of coffee is perfectly suited to your palate.
Dietary Considerations: Dairy-Free Options
With the growing trend towards dairy-free diets, you have several options for making your creamer. You can substitute traditional milk with almond, soy, or oat milk to create a plant-based vanilla coffee creamer that still delivers great taste.
Making these substitutions allows those with lactose intolerance or dairy allergies to enjoy coffee creamer without compromising their health. Look for unsweetened and organic options if possible, as this can help minimize added sugars and potentially harmful additives, providing a more wholesome choice for your morning brew.
Environmental Impact of Your Ingredients
Creamer ingredients can significantly affect the environment, from sourcing to production. Being mindful of your ingredient choices helps reduce your carbon footprint and promotes sustainable farming practices.
Options like local dairy or plant-based milks with sustainable certifications are not only better for the planet but often provide fresher alternatives. Additionally, consider the packaging your ingredients come in; opting for bulk purchases can reduce waste and encourage recycling. Your choices can lead to a positive impact on the environment while enjoying your homemade vanilla coffee creamer.
Conclusion
Drawing together your ingredients and following this simple recipe, you can craft a delightful homemade vanilla coffee creamer that elevates your morning brew. With just a few basic components, you can customize the flavor to suit your taste, ensuring every cup of coffee is a satisfying experience. By making your own creamer, you not only save money but also avoid artificial additives, giving you a fresher, more authentic taste. Enjoy creating your personalized blend, and savor the joy of a homemade touch in your daily coffee routine.
FAQ
Q: What ingredients do I need to make homemade vanilla coffee creamer with milk?
A: To make homemade vanilla coffee creamer, you will need the following ingredients:
- 1 cup of milk (whole, skim, or any milk alternative)
- 1/2 cup of heavy cream (optional, for a richer texture)
- 1/4 cup of sugar (granulated or brown sugar works well)
- 1 tablespoon of pure vanilla extract
Q: Can I use non-dairy milk for this recipe?
A: Yes, you can use non-dairy milk such as almond milk, soy milk, oat milk, or coconut milk. The flavor and creaminess may vary slightly, but it will still create a delicious vanilla coffee creamer.
Q: How do I sweeten my homemade vanilla coffee creamer?
A: You can adjust the sweetness of your creamer by varying the amount of sugar. Start with the suggested 1/4 cup and taste test. If you prefer a sweeter creamer, gradually add more sugar until the desired sweetness is reached. You can also use alternative sweeteners such as honey, agave syrup, or maple syrup if you prefer.
Q: How long can I store homemade vanilla coffee creamer?
A: You can store homemade vanilla coffee creamer in an airtight container in the refrigerator for up to one week. Be sure to give it a good shake or stir before using, as separation may occur over time.
Q: Is it possible to make flavored variations of this vanilla coffee creamer?
A: Absolutely! You can personalize your creamer by adding different flavors. For example, try adding a teaspoon of cocoa powder for chocolate flavor, or a pinch of cinnamon for a spiced touch. Other flavor extracts like hazelnut or almond can also enhance your creamer.
Q: Can I make this coffee creamer without heavy cream?
A: Yes, you can make the creamer with just milk if you prefer a lighter version or if you don’t have heavy cream on hand. The texture will be more liquid, but it will still provide a tasty addition to your coffee.
Q: Do I need to heat the ingredients when making the creamer?
A: There is no need to heat the ingredients when making this creamer. Simply mix all the ingredients together in a bowl or container until well combined. However, if you prefer a warm creamer, you can heat the mixture on the stove or in the microwave before storing.